Installing Apache, MySQL, and PHP on Windows Vista
If you’re looking for a good developmental server for your work, or just for personal use, what better place than your workstation? It eliminates the need for uploading your work to a remote server and allows you to run your scripts and test your website in a server environment. You can even set it up to be accessible to the public, password protected, or invisible behind your firewall.
Nowadays, it is easier than ever to get a complete web server setup on Windows. WAMP is a popular package combining the popular web server Apache, MySQL Database server, and PHP scripting language. The install takes a few minutes and is super easy; if you can click Next, you’re good. With a couple quick tweaks to your router and httpd.conf file you are ready to serve files to the web. The below steps will get you up and running in minutes, let’s get started!
First, download the WAMP install package from the WAMP homepage. Once you download WAMP, double click the exe and begin the install process.
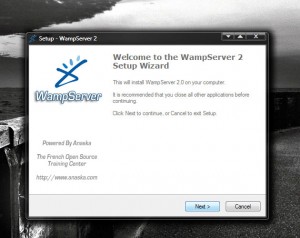
Click Next to begin:
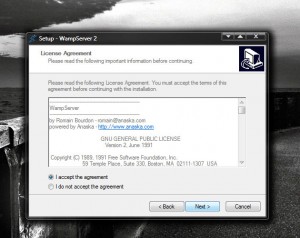
After agreeing to the WAMP license, select the destination location. Leave the default location as “c:wamp” and click Next:
Choose your shortcut options and click Next:
Review your installation destination is correct. Click Install and WAMP will begin the install process:
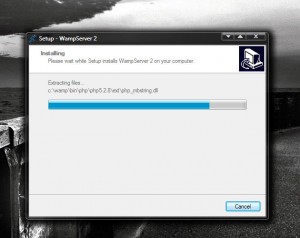
WAMP will extract and install itself. The process should only take a few seconds.
WAMP will prompt you to enter the SMTP server and email to be used by PHP to send emails. Leave the default SMTP value as “localhost”, put your email address in the Email field and click Next:
If you have Firefox installed, WAMP will ask you if you would like to use Firefox as the default browser with WAMP. This is a personal choice, so feel free to choose either “Yes” or “No.” I prefer to use Firefox for pretty much everythig so I click “Yes” and then click Next:
You will likely be prompted by Vista whether the Windows Firewall should allow or block the features of WAMP. You want to allow all of the features of WAMP, so click Unblock:
Congratulations, the installation process is complete. Yes, it was really that easy. Now click Finish and Launch WAMP now:
Open a browser and enter “127.0.0.1″ or “localhost” as the URL, and you will see a summary of the installation process:

There are a few more configuration changes you must make to use WAMP. Firstly, open a port on your router and allow it to forward requests to WAMP. This will allow you to connect to your WAMP server from outside your local area network.
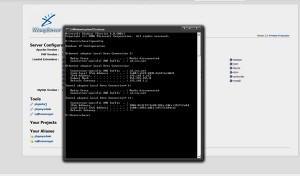
You will need to learn what your local area network IP address is before opening a port on the router. In order to do this, open Command Prompt by going to Start – Run, and typing “cmd”. It will open up a command prompt window.
Once in Command Prompt, type ipconfig. This command will show you your network IP information, we are interested in the IPv4 address and Default Gateway of your Ethernet adapter Local Area Connection.
Your address will be different from the one displayed. Write the IPv4 address and Default Gateway down and close the Command Prompt.
You are at the point where you can open a port on our router and forward requests to WAMP. The firmware for routers is different, so the directions are different for every router. Connect to your router through the browser of your choice. Enter the Default Gateway address you wrote down above.
If you have a Linksys router enter http://192.168.1.1 into the URL bar. If you have a NETGEAR router enter http://192.168.0.1.
Once you are in your router’s control panel, you will have a location called something along the lines of “Port Range Forwarding.” You will want to create a new entry and call the application WAMP to easily identify the application that is using the port. Enter 80 for Start and End, choose Both for Protocol and enter your IPv4 address (my address was 192.168.1.123) you obtained form the Command Prompt as the IP Address. Choose Enable and click Save Settings:
You need to edit one more file before you will be able to access your documents from outside your local area network. Click the WAMP icon that has been added to the system tray, choose “Config files,” and select “httpd.conf”:
This will open httpd.conf in Notepad. You will need to edit the section called “Controls who can get stuff from this server.” Scroll down to this section (it’s a little less than half way through the file) and change the line that says “Deny from all” to “Allow from all” and resave the document:
Click the WAMP icon in the system tray and restart Apache:
Open a browser and navigate to “http://www.whatismyip.com” and find out what your IP address is. Now open a browser and enter “http://yourIPaddress” and you will be forwarded to your WAMP server whether you are inside or outside your local area network. Anything you put into your “c:wampwww” directory will be stored on your server. For example, if you copied all your pictures to “c:wampwwwpictures,” you will be able to navigate to “http://yourIPaddress/pictures” and all of your pictures will be available.


